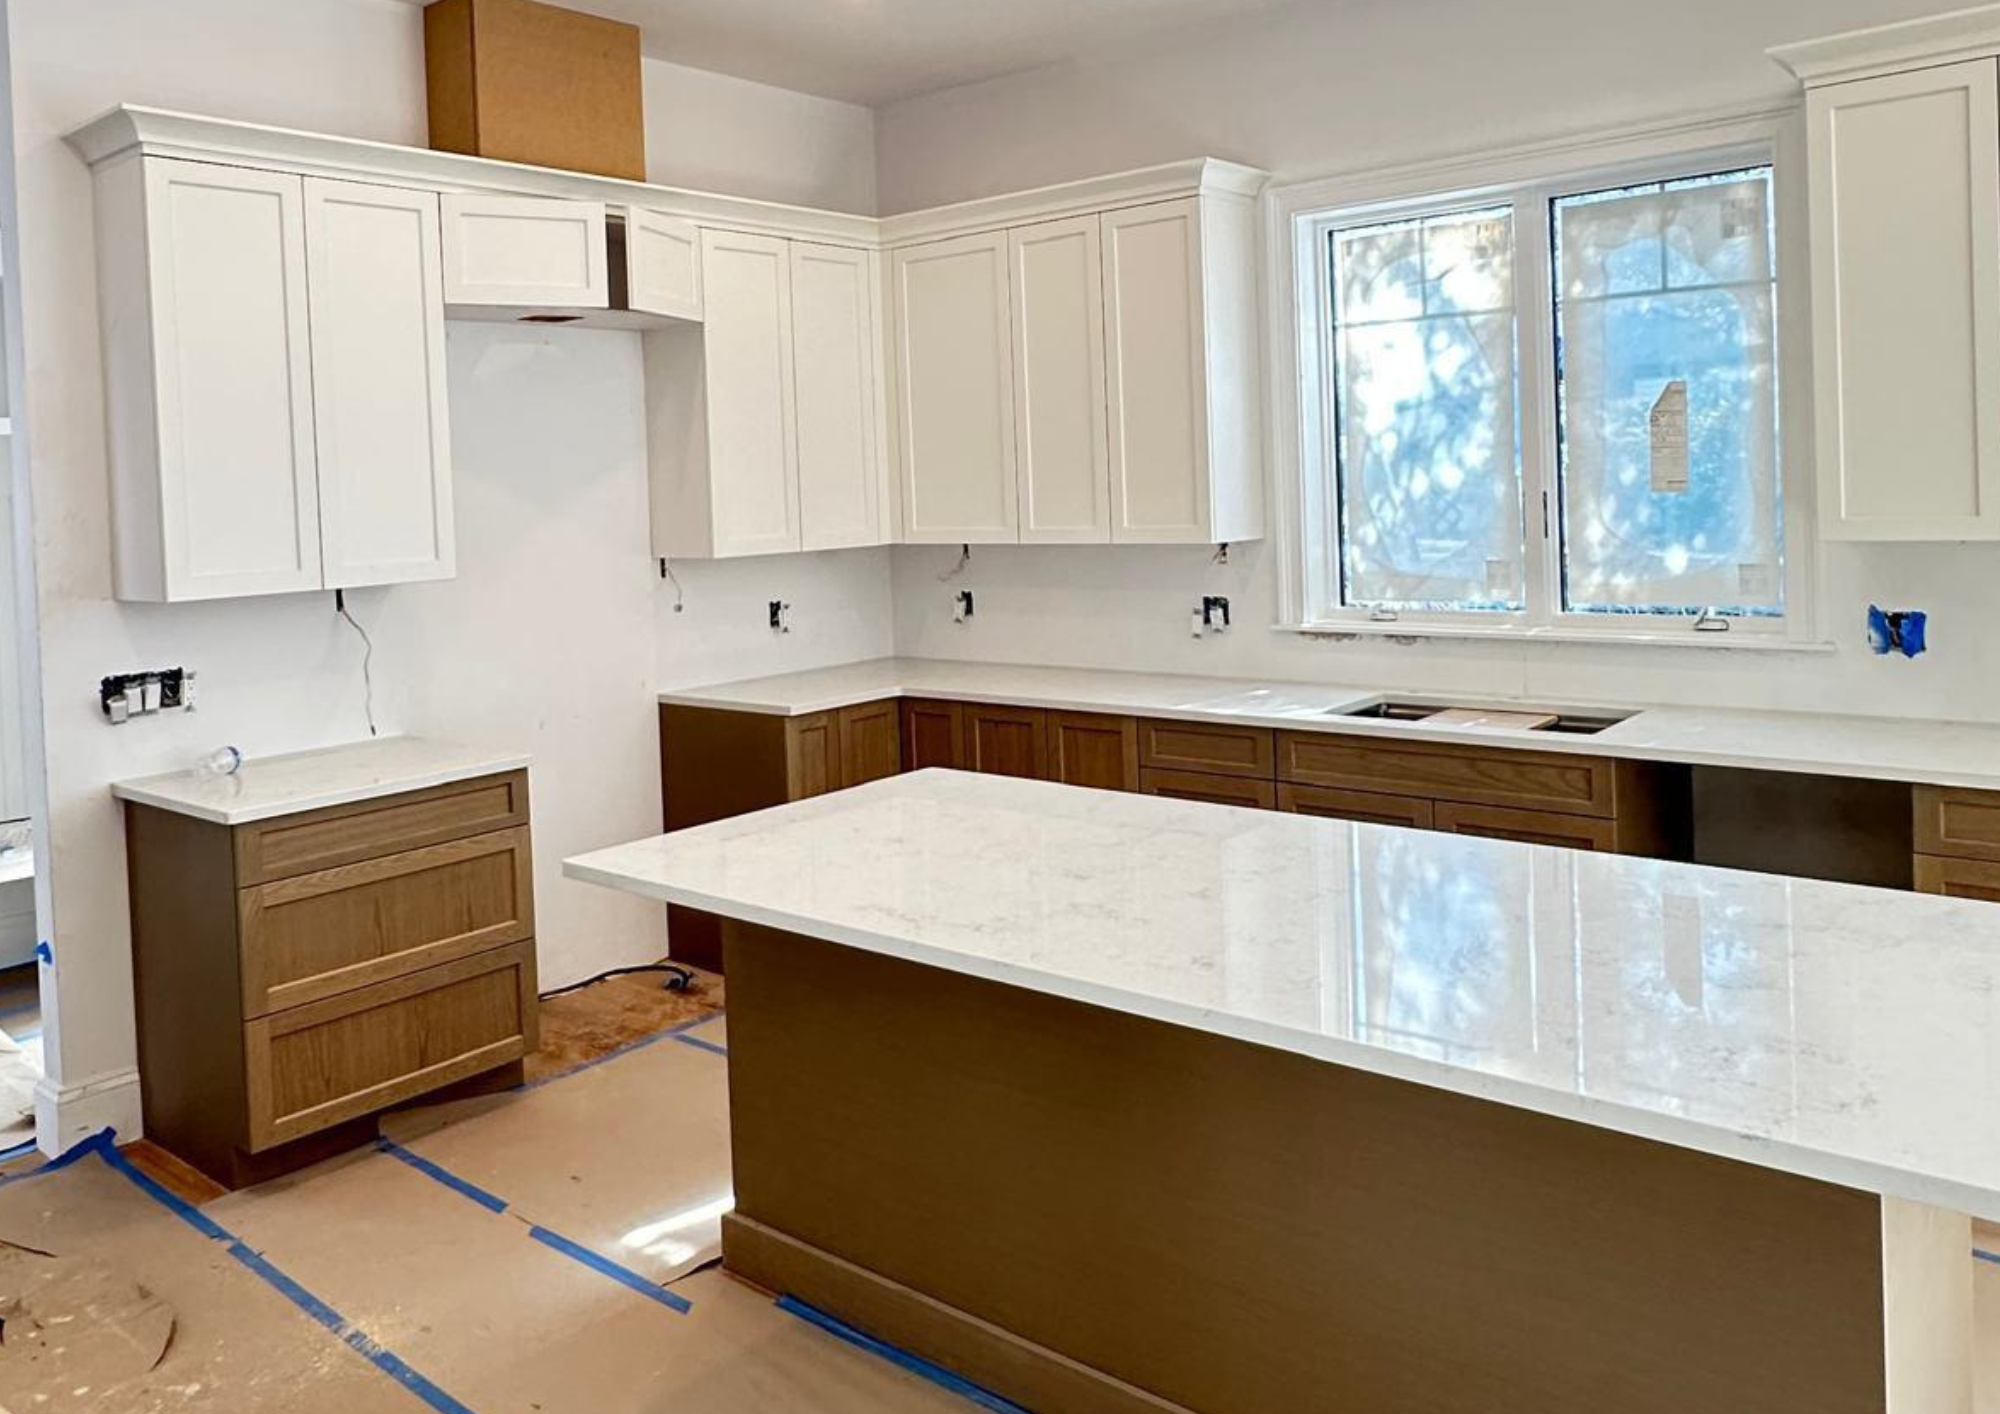
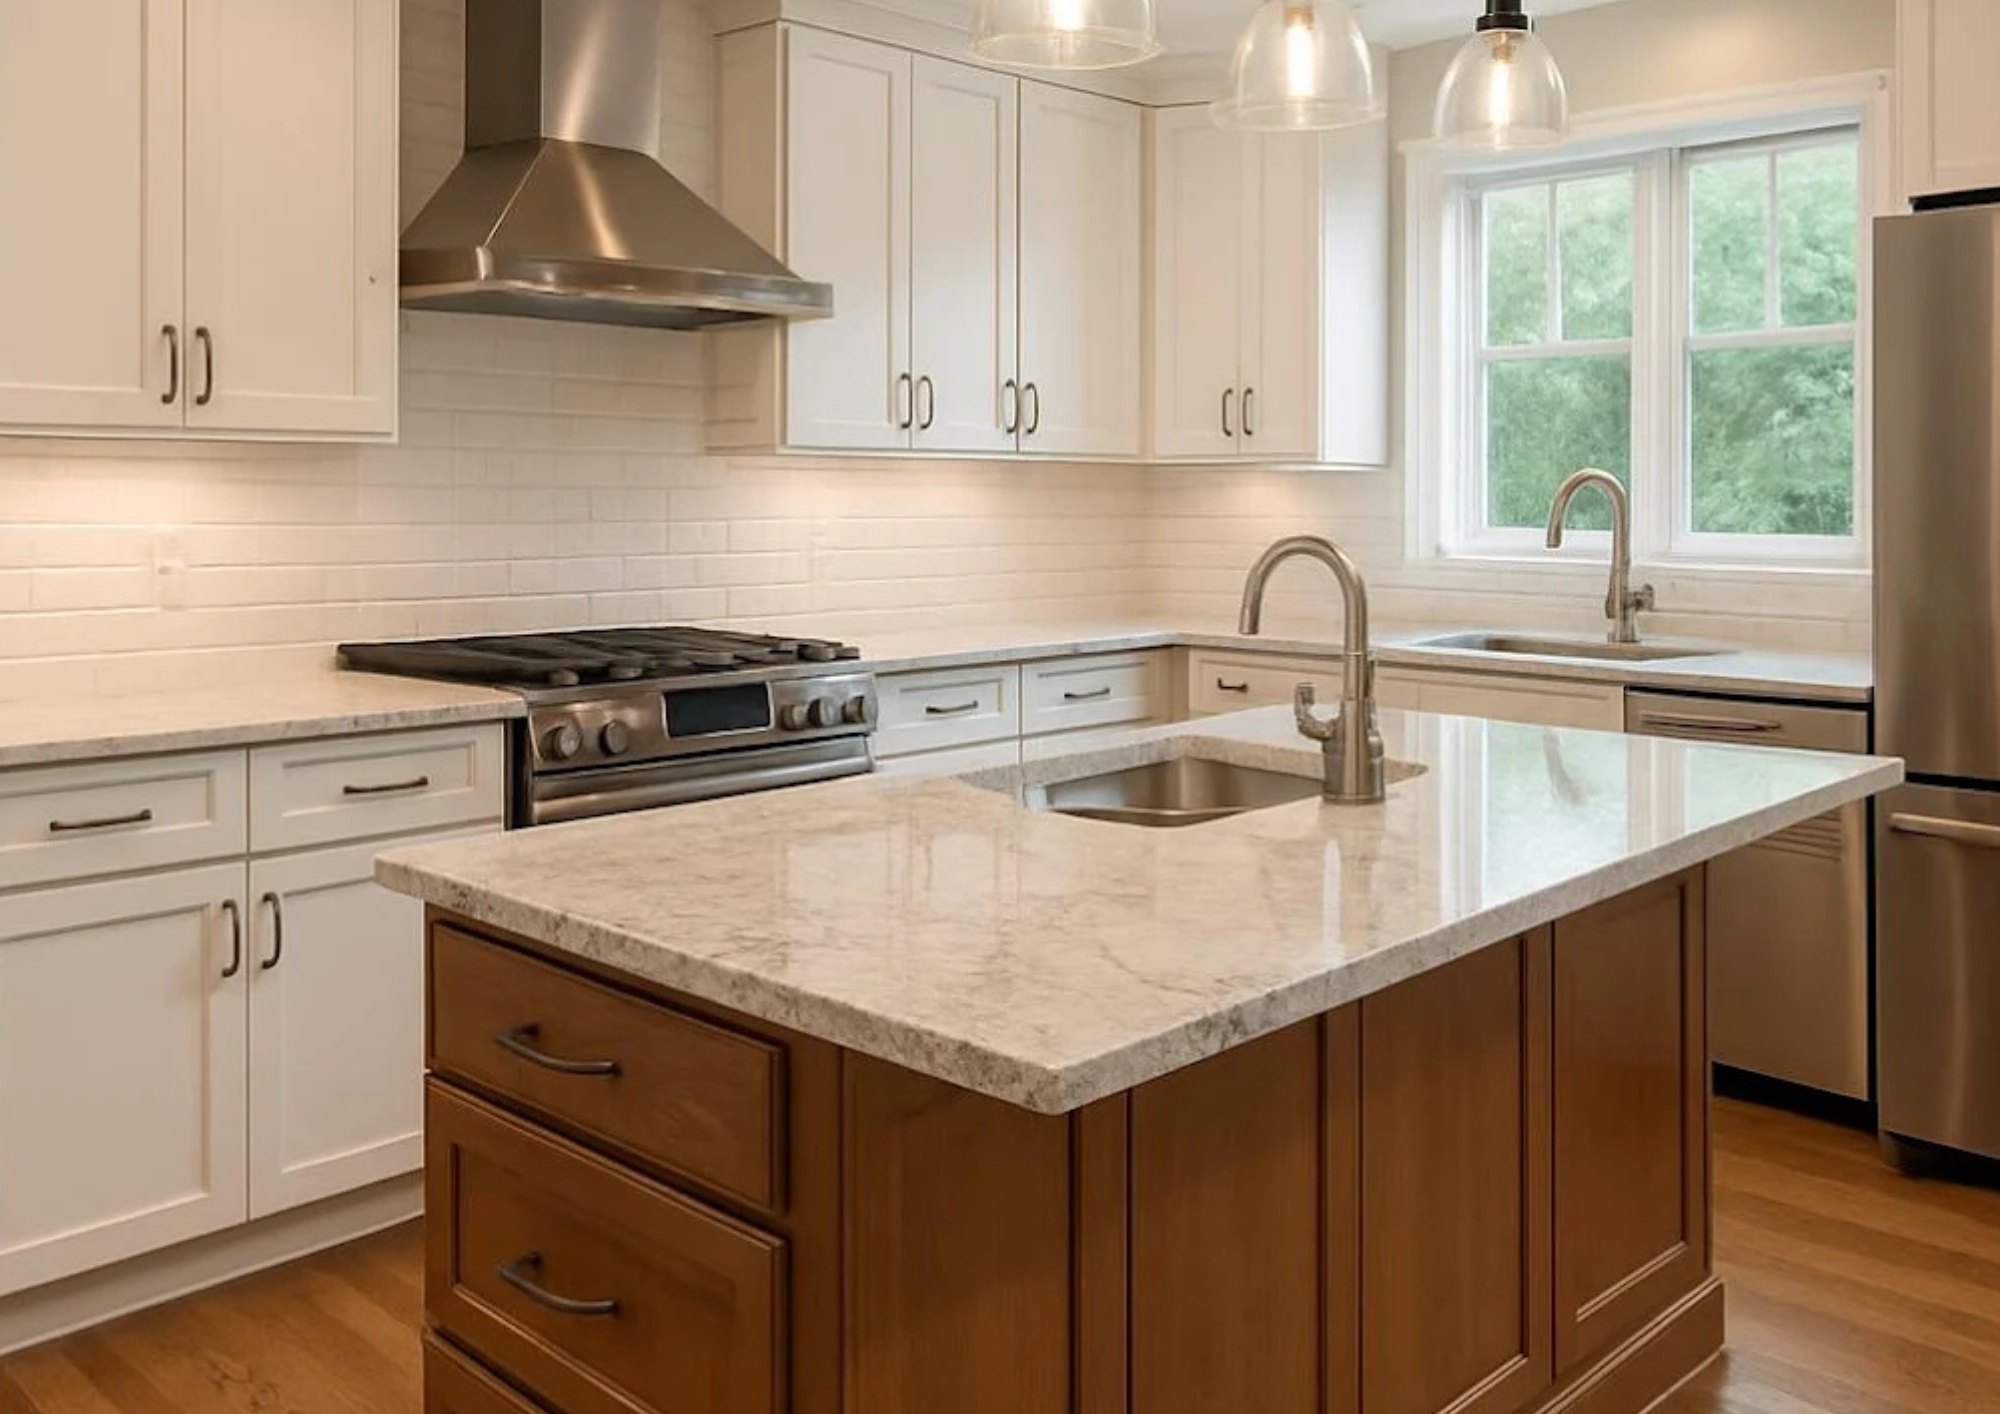
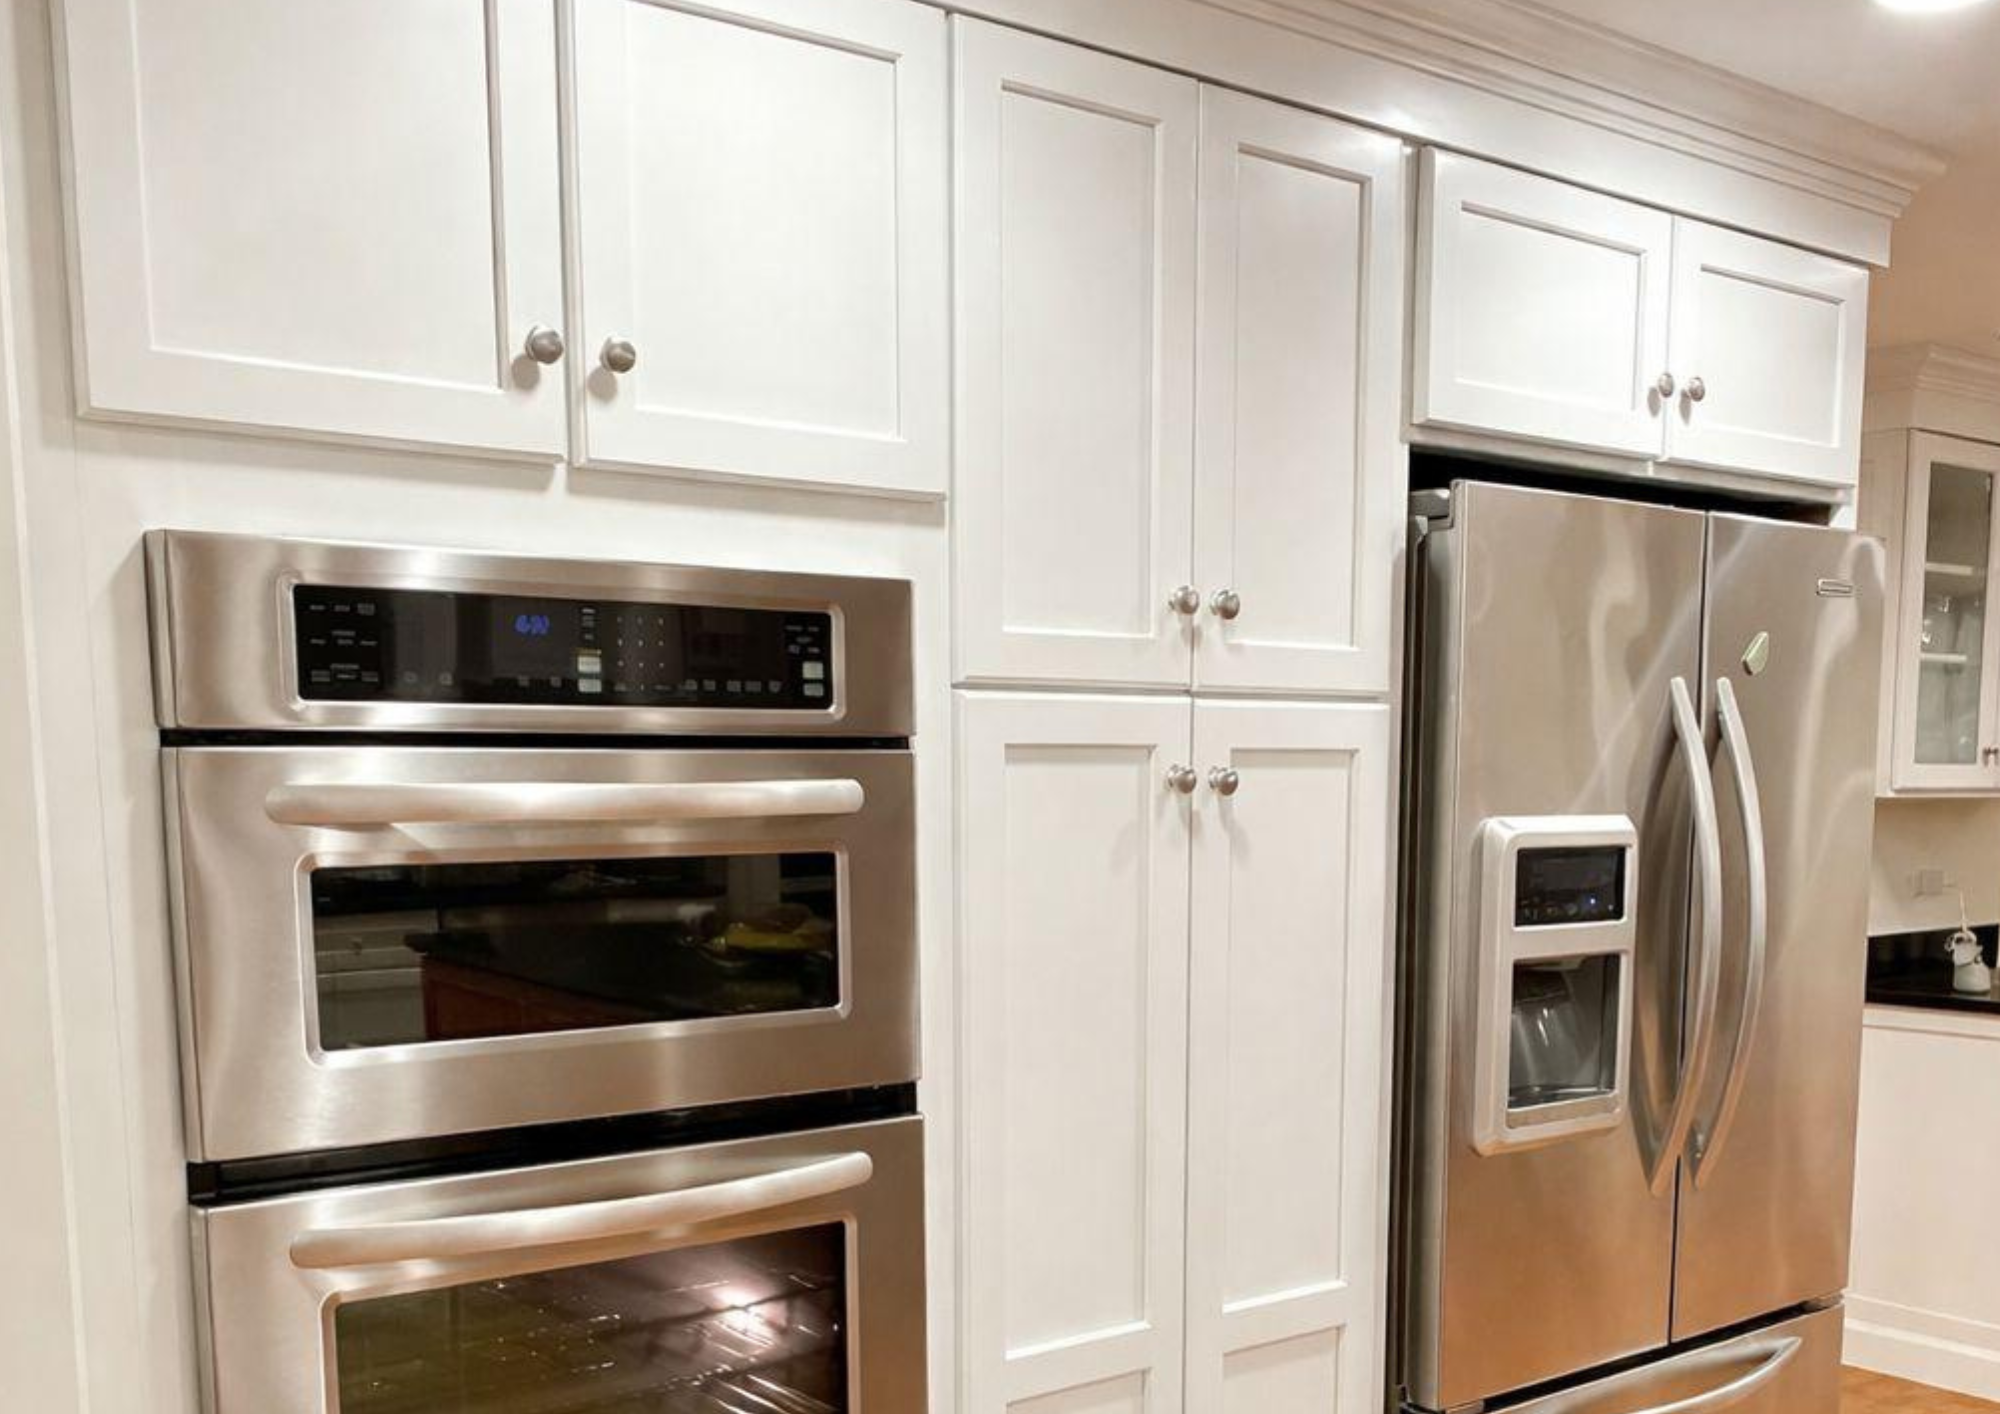
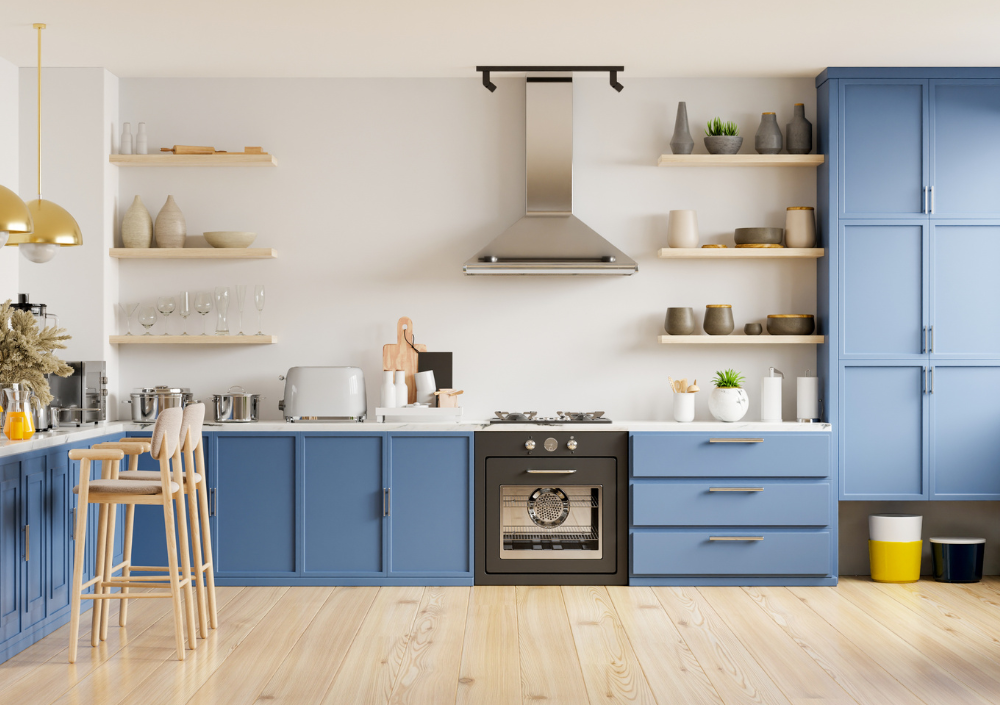
Project results
Recent Cabinet Transformations
Replace these placeholder images with your real kitchen and vanity projects to build trust and conversion.


Our cabinet process
Prep-First Workflow for a Better Finish
Cabinet refinishing is all about prep and coating discipline. Here’s the process we use to deliver a smooth, durable result.
Clean & Degrease
Sand & Repair
Prime
Light Re-Sanding
Apply Cabinet Enamel
Reinstall & Final Detail
Why cabinet projects need a specialized process
Cabinets are high-touch, high-traffic surfaces. The right prep and coating system matters more than color alone.
Step 01
Protect & Label
We build a clean, controlled work zone first. Cabinet doors, drawers, and hardware are removed and labeled so reinstallation is accurate and organized.
What we do
- Protect counters, floors, appliances, and adjacent surfaces
- Remove doors, drawers, pulls, and hinges (as applicable)
- Label every piece for consistent reinstallation
Why it matters
- Keeps the jobsite clean and safe
- Prevents hardware mix-ups later
- Reduces risk of accidental overspray or drips
Quality check
- Protected zones confirmed before prep starts
- Parts staged and labeled in sequence
- Workflow path planned for efficient production
Step 02
Clean & Degrease
Kitchen cabinets collect oils, cooking residue, and hand grime. We deep-clean surfaces so primer and enamel can bond correctly and last.
What we do
- Degrease doors, drawer fronts, and frames
- Remove contaminants from high-touch areas
- Rinse/wipe down so surfaces are coating-ready
Why it matters
- Primer adhesion fails on oily surfaces
- Prevents fish-eye and coating defects
- Improves long-term durability
Quality check
- No slick residue left behind
- Edges and handles zones fully cleaned
- Surface ready for sanding and repairs
Step 03
Sand & Repair
We scuff-sand glossy factory finishes and correct small imperfections so the primer lays down evenly on a smooth, stable surface.
What we do
- Scuff-sand to create mechanical adhesion
- Fill minor dents, chips, and imperfections
- Feather edges and smooth repaired spots
Why it matters
- Cabinets need more prep than walls
- Smoother substrate = smoother final finish
- Reduces visible defects under enamel sheen
Quality check
- Gloss is uniformly de-sheened
- Repairs are flush, not telegraphing through
- Dust removed before primer stage
Step 04
Prime
We apply a cabinet-grade bonding primer designed for adhesion, coverage consistency, and compatibility with high-performance cabinet enamels.
What we do
- Apply bonding primer to doors, drawers, and frames
- Target problem areas for reliable adhesion
- Maintain clean, even primer coverage
Why it matters
- Primer locks into the prepped surface
- Improves topcoat grip and uniformity
- Helps prevent peeling and early wear
Quality check
- Even coverage with no missed edges
- Proper dry time observed
- Ready for light re-sanding before enamel
Step 05
Light Re-Sanding (After Primer)
After primer cures, we lightly sand again to refine the surface and improve enamel bite. This is a key step for a cleaner, factory-like finish.
What we do
- Lightly sand primer to remove grain raise and texture
- Smooth dust nibs and minor imperfections
- Clean surface thoroughly before topcoat
Why it matters
- Improves final enamel leveling
- Creates a smoother hand-feel on doors/drawers
- Helps enamel grip consistently
Quality check
- Primer feels uniform and smooth
- No loose dust before coating
- Edges, profiles, and panels evenly refined
Step 06
Apply Cabinet Enamel
We apply a cabinet-grade enamel system with the method best suited to your project for smooth leveling, a clean sheen, and long-term durability.
What we do
- Apply cabinet enamel in controlled coats
- Respect recoat and cure windows
- Maintain consistency across all components
Typical system
- Bonding primer + cabinet enamel topcoats
- Satin or semi-gloss depending on project goals
- Products selected for adhesion and washability
Quality check
- Uniform sheen and color consistency
- Clean edges and profile coverage
- Touch-up pass before reassembly
Step 07
Reinstall & Final Detail
Once curing and finish checks are complete, we reinstall labeled components, complete final detailing, and walk the project with you.
What we do
- Reinstall doors, drawers, and hardware
- Final touch-ups where needed
- Clean up and prepare for walkthrough
Why it matters
- Proper alignment affects the final look
- Final detailing protects a premium result
- Ensures the project is truly finished
Quality check
- Door gaps and hardware alignment checked
- Final visual inspection with client
- Care/curing guidance reviewed
Finish Options / Best For
Cabinet Finish System
For kitchen cabinets, we typically recommend Sherwin-Williams Emerald® Urethane Trim Enamel because it delivers a smoother factory-like finish, excellent leveling, and stronger long-term durability than standard wall paint.
It’s ideal for high-touch surfaces like cabinet doors and drawers because it resists wear, cleans up well, and helps maintain a refined look in busy kitchens.
Best For
Kitchen cabinets, bathroom vanities, built-ins, laundry room cabinets
Paint System
Bonding primer + Emerald Urethane Trim Enamel
Finish Options
Satin or Semi-Gloss (most common for cabinets)
Process Breakdown
What’s Included
- Surface protection + masking of surrounding areas
- Degreasing and contaminant removal
- Scuff sanding and adhesion prep
- Minor filler repairs and smoothing
- Bonding primer application
- Cabinet enamel topcoats
- Reinstall + final touch-up walkthrough
Finish planning
Choosing the Right Cabinet Finish
Most cabinet projects work best with satin or semi-gloss enamel. The choice depends on the look you want and how much washability you need.
Cabinet Care After Painting
- Use gently during the initial cure period
- Avoid harsh chemicals and abrasive pads
- Clean with soft cloth + mild soap
- Let us know if you need touch-up support
Pro Tip: Cabinet coatings dry quickly, but full cure takes longer. We’ll explain the best care steps after your project.
Satin
Balanced look with a soft sheen. Great for modern kitchens and a premium painted look.
Semi-Gloss
More shine and high washability. Excellent for high-use kitchens and busy family homes.
Color Strategy
We can help choose wall/counter/cabinet combinations that work with your lighting and hardware.
Client feedback
“Our kitchen looks completely new. The cabinet finish is smooth, clean, and professional — and the team kept everything protected and organized the whole time.”
100%
Cabinet-focused prep workflow
MA
Massachusetts service area
FAQ
Cabinet Refinishing Questions
Answers to common questions about cabinet painting, durability, and scheduling.
Yes. We refinish both visible cabinet boxes and doors/drawer fronts as part of a complete cabinet finish system, with prep and protection tailored to kitchen workflows.
When cabinets are cleaned, sanded, primed, and coated with the right enamel, the finish can be very durable. The prep system is what makes the difference.
Absolutely. We can guide you on color direction, sheen, and combinations that work with your counters, backsplash, floors, and lighting.
Usually yes for the smoothest workflow. We’ll give you a clear prep checklist before the project starts so you know exactly what to do.
Ready to refresh your cabinets?
Get a quote for cabinet refinishing and we’ll recommend the best finish system for your space.